🎲GAME/BLOG INTRODUCTION
Welcome back, fellow survivors, to Tracks of Terror: The Last Train to Save Your Butt. I’m Barnabas, still alive (for now) and here to update you on our day-to-day fight aboard this ill-fated locomotive. Yesterday, Penny called for us to Loot, and so we turned our attention to that battered EmergenTek trunk in the back of a pickup. Let’s see what treasure—or terror—we dug up.
🎁 HOW IT WORKS
Each day, we pick between Fight ⚔️, Sneak 👣, Improvise 🛠️, Persuade 🗣️, or Loot 🔍 to survive. We only clear about 50% of each train car at a time, which slows us down but keeps us (mostly) breathing. I reveal how our chosen approach worked the following day. Keep guessing correctly to build your odds for the mystery prize—and watch out for loot boxes, because any day might yield crucial rewards… if we’re lucky.
🦠 BACKSTORY REMINDER
I boarded this second train after the first one derailed in a spectacular, zombie-filled disaster. We’ve been painstakingly securing the autorack car, home to both desperate survivors and lurking undead. Yesterday, Penny finally reappeared, backing up my efforts to keep everyone calm. We found a note about Car 14—something about “they can’t die”—and a sealed EmergenTek trunk. Penny decided we should rummage for possible gear or intel. Could be a lifesaver… or a bomb.
Day 11: “Opening Pandora’s (EmergenTek) Box”
Yesterday’s Decision: Loot 🔍
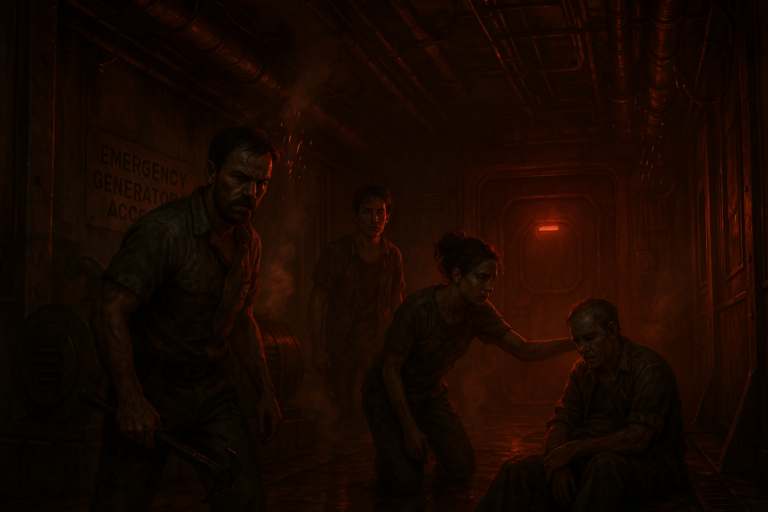
With Penny at my side, we pried the EmergenTek trunk loose from the pickup bed. A few survivors stood guard, in case a horde of zombies decided to ambush us mid-loot. The trunk itself was dented, covered in cryptic warning labels, and locked tight.
How It Played Out
- Penny found a metal pry bar in the back of another truck.
- We coaxed a few survivors to help hold the trunk steady while I wedged the pry bar under the lock.
- The trunk groaned open with a shrill screech that made everyone jump—reminded me of nails on a chalkboard.
- Inside, we discovered a black, foam-lined interior containing:
- A sturdy stun baton, fully charged.
- Two small vials labeled “Stimulant A-13” with a note that reads “USE IN EMERGENCIES ONLY—TEST PHASE.”
- A half-dozen portable flare sticks—the kind you can crack and toss for bright light.
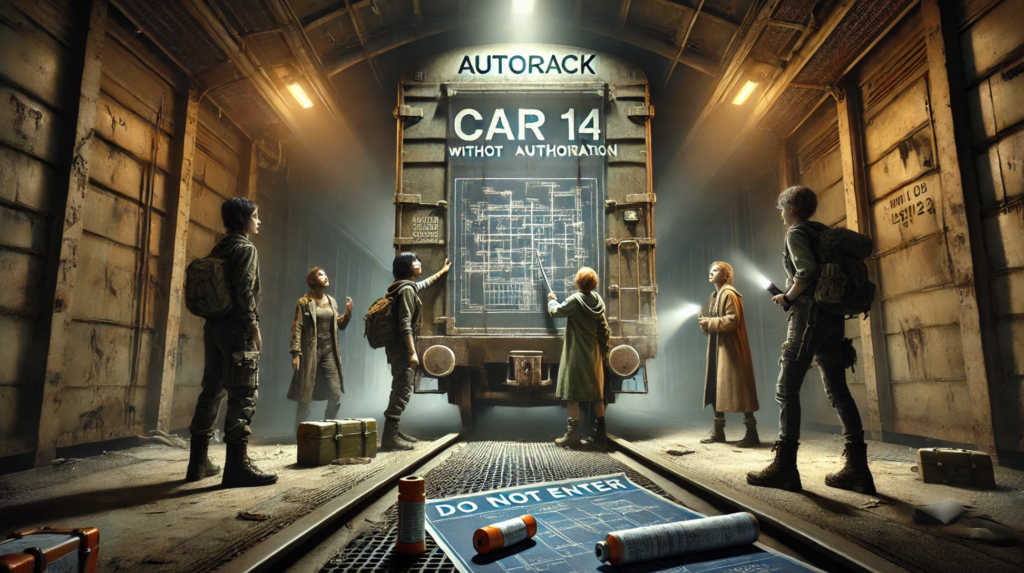
- A folded blueprint of some train car with thick shading around the walls… scrawled on it: “Subject hold—watch for reanimation.”
We weren’t sure what to make of the blueprint, but the mention of “reanimation” gave me a chill. Is Car 14 some kind of containment area for unstoppable zombies? The EmergenTek logo suggested it might be tied to experimental research. Could these vials be an antidote? A steroid? Or something worse?
The Outcome
- We successfully salvaged valuable gear. The stun baton alone might help us if ammo runs dry.
- No immediate zombie ambush while we looted, which was a minor miracle.
- A sense of unease spread among the survivors after reading that blueprint. “They can’t die” echoed in everyone’s mind.
Overall, Loot paid off—no casualties, new tools, and a big question mark about what EmergenTek was doing on this train.
What If We Chose Differently?
- Fight ⚔️
- We could’ve marched deeper into the autorack to kill any remaining zombies, but we’d still be unprepared for what lurks in Car 14.
- Sneak 👣
- Snooping around might have uncovered more clues quietly, but we’d miss out on the trunk’s gear if we never forced it open.
- Improvise 🛠️
- We might’ve sealed off the autorack or set traps, but we’d stay in the dark about EmergenTek’s secrets.
- Persuade 🗣️
- Rallying everyone to talk? Could unify the group, but we’d still be dangerously unarmed for the next threat.
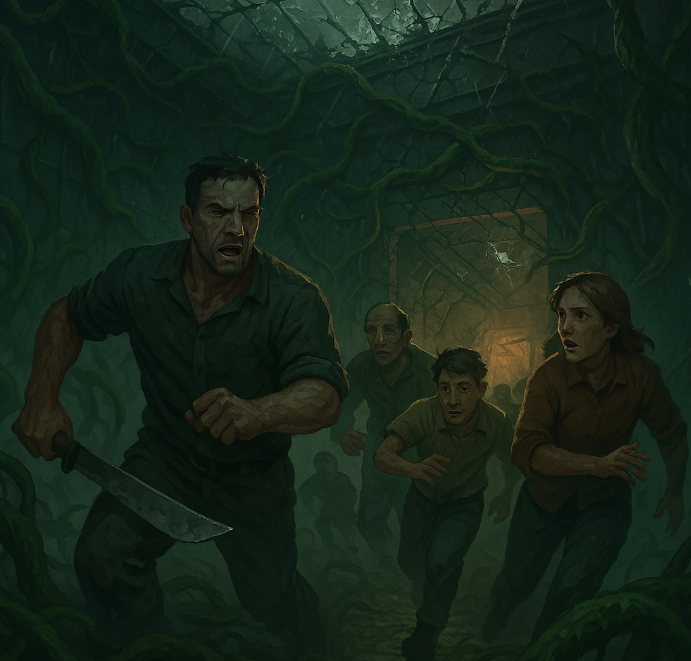
THE SCENE: CAR 14 LOOMS
With the autorack nearly secure, we stand by the door leading to Car 14—the one the note warned us about. The blueprint from the trunk suggests it’s built like a containment facility, with reinforced walls and some kind of internal gate system. A leftover label on the door reads “Do Not Enter Without Authorization”. Great. That always bodes well.
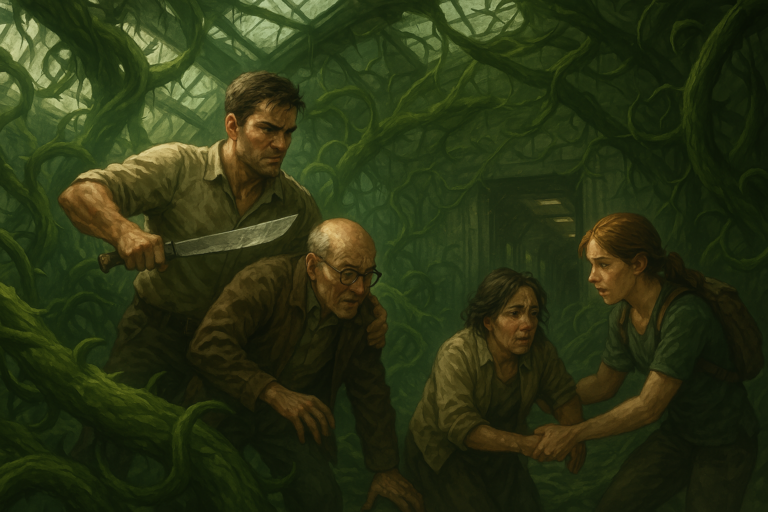
Penny grips the new stun baton, tension clear in her eyes. She glances at the blueprint again, brow furrowed. I hold the pair of stimulant vials, not sure if we should risk injecting them if things go south. The survivors mill around behind us, some itching to press on, others urging we fortify first.
Subtle Clue: The blueprint includes scribbles about “emergency floor release”. Could that mean part of the floor can open or drop away? If something is “indestructible,” maybe EmergenTek had a plan to jettison it mid-travel?
SUBMIT YOUR GUESS BELOW
We now have better gear and chilling intel. Time to tackle Car 14—or do we stay put? What’s our move?
- Fight ⚔️ – Storm Car 14 en masse, take advantage of our new stun baton, and hope blunt force plus bullets can kill whatever’s inside.
- Sneak 👣 – Scout the next car quietly, using flares sparingly, aiming to see what we’re dealing with before we commit.
- Improvise 🛠️ – Rig the new gear or the rumored “floor release” system to contain or drop any unkillable zombies.
- Persuade 🗣️ – Rally the survivors again. We might need a specialized approach if “they can’t die.”
- Loot 🔍 – Take a deeper look around the autorack and the newly opened trunk—maybe there’s more we’ve overlooked that can help with Car 14.
🔥 CLIFFHANGER: SUBJECTS THAT CAN’T DIE?
With Car 14’s door inches away, the question isn’t just whether we’ll survive, but what we’re even up against. Tomorrow, we’ll see if we can outsmart EmergenTek’s horrific secrets—or get added to their undead experiment logs. Keep your guesses coming, survivors. One misstep, and we’ll be the next reanimated footnotes.